Aieee!
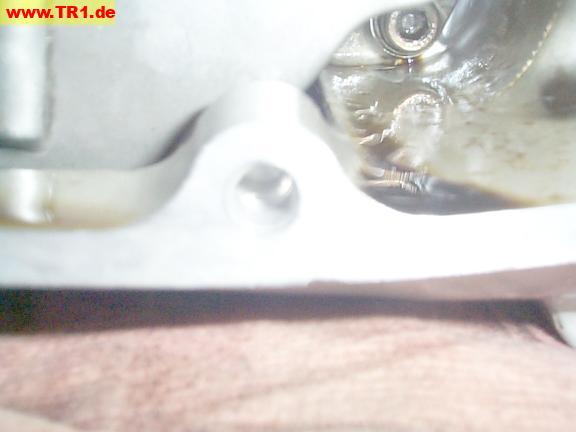
There was a sharp POP as we were torqueing one of the left sidecover bolts – the bolt immediately became finger-loose, and could now be pulled completely out of its hole without rotating it. We found half of the case threads that had – up to now – been a permanent part of the case were now wrapped around the end of the
bolt.
This bolt was too short: it was only long enough to mesh with about half of the crankcase threads, so torqueing this bolt to the value given in the manual applied twice as much tension against the threads as intended.
All three bolts holding the bottom of the sidecover were too short.
As we reused the same bolts that were removed, it’s unclear when these short bolts were originally installed.
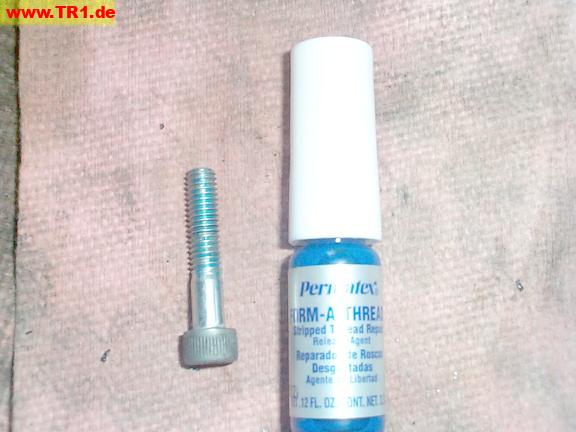
We’ll try this new “instant thread” stuff – sure hope it works!
Other solutions considered included drilling the remaining threads out, filling with liquid aluminum, J-B Weld, and tapping new threads – or just drilling and helicoiling.

We’ll follow the directions included with the “instant thread” stuff.
First, we’ll clean the bolt with some starting fluid, and dry thoroughly.

Then, we’ll apply anti-stick to the bolt threads – no doubt an important step. ;-)
It’s a pleasing blue colour.
Now that we have a bolt ready to go, we’ll

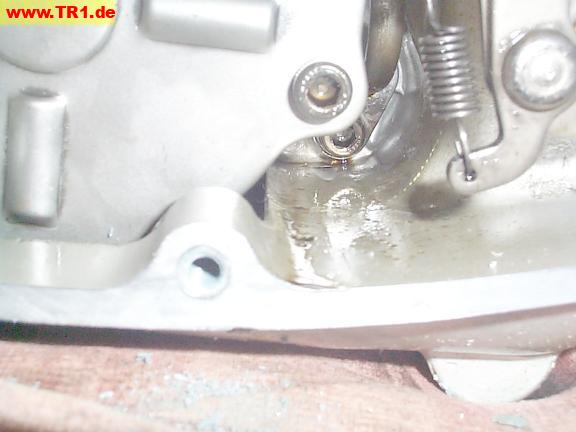
After five minutes, we removed the bolt, and used a knife to trim the excess epoxy material flush with the case mating surface.
The bolt squeeeked while being removed, and required about half of the torque listed in the shop manual.
The threads look good – of course, any threads would look good at this point.
We waited overnight before retorqueing with a different bolt.
We had to add a moderate amount of torque while threading the bolt into the new hole, even though it was lightly oiled. It *did* torque to spec.
So far, so good.
I’m not (yet?) comfortable using this stuff on something structurally important, though.
We replaced three of the original, shorter hex bolts (left) with longer bolts (right) from our parts box; these replacements happen to be Honda bolts.
We verified that the longer bolts could be threaded into our sidecase a little bit further than they could reach with the sidecover installed. This is important, because a bolt that’s too long won’t hold the sidecover tight, and may even crack our sidecase when it runs out of threads.
The appropriate tool bits, a hex bit and hex socket, are shown below.
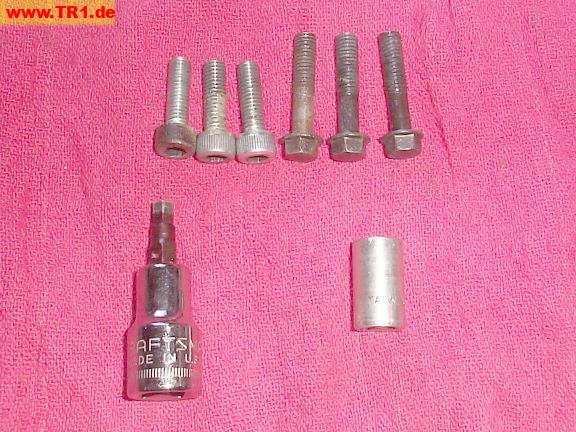
Two of the three new bolts are installed, with a hex-key-style bolt in the middle for comparison.
Manufacturers use several kinds of fasteners for stuff like sidecovers.
Let’s finish up the sidecover.
We’ve smeared grease in the general direction of the solenoid lever. ;-)
(If one cup of bleach is good, two cups must be twice as good. NOT. ;-)
The solenoid is to the left; the torx bolt on the right is fastened to the starter fork shaft inside the sidecover.
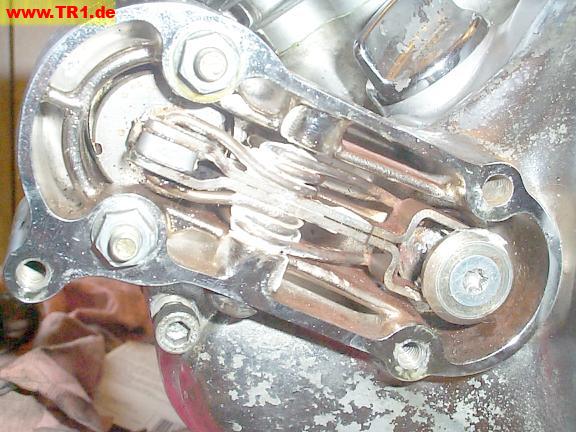
The underside of the solenoid cover is in the middle.
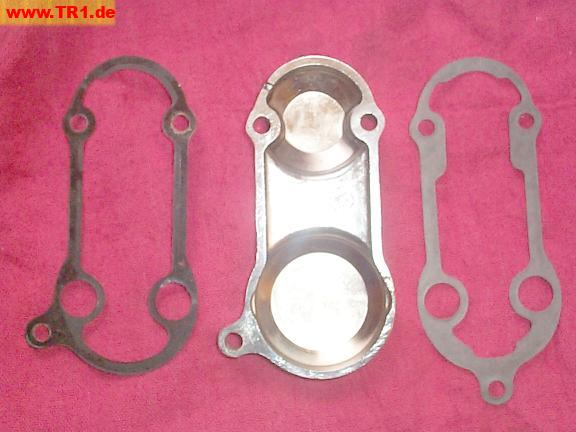
The old black gasket is to the left; the new grey gasket is to the right.
Uh-oh. The new gasket’s lower bolt hole doesn’t match our cover.
We’ll reuse the old gasket on the left, as it’s in fair condition, and this isn’t a critical item.
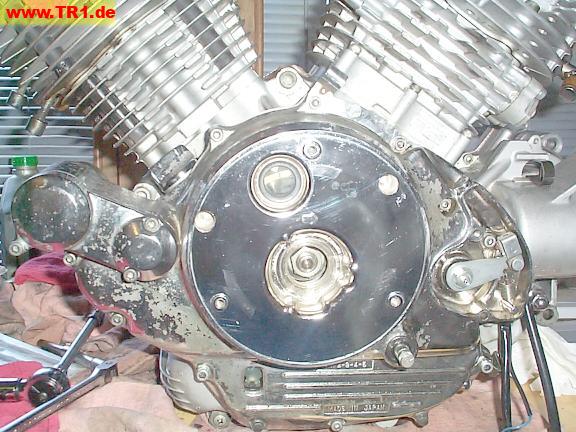
The left sidecover and solenoid cover are installed and torqued.
The timing window is visible (about 11 o’clock from the crankshaft).
the crankshaft nut is visible through its hole in the center of the sidecover.
Next, we’ll install the cover over the crankshaft nut.
This cover seals the access hole in the left sidecover for the crankshaft nut.
This part sure resembles an old Honda 305 valve tappet cover.
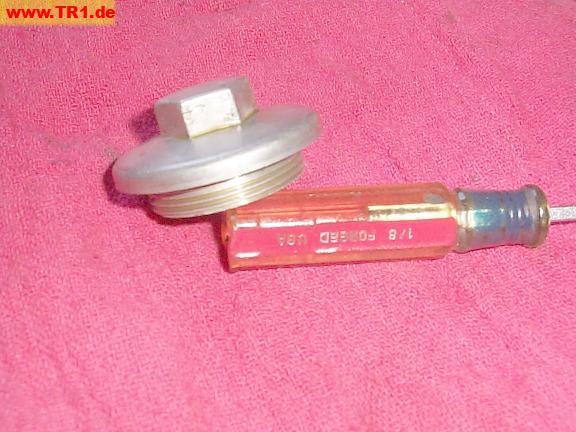
The black O-ring keeps oil away from the decorative cover.

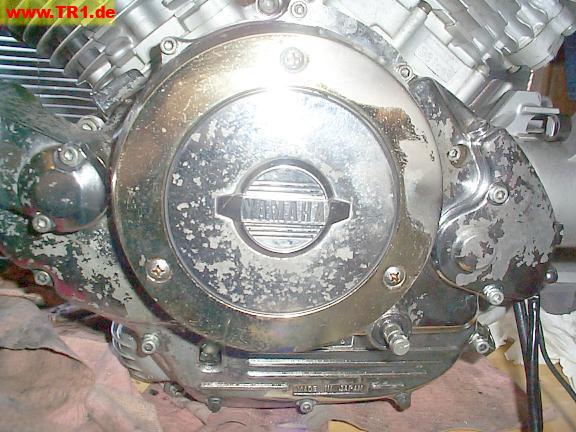
Three phillips screws hold the decorative gold-and-silver cover on the sidecase, hiding the timing window and crankshaft end cover.
We’ve temporarily installed the clutch cover. Because this cover must be removed when we finally attach the clutch cable, the two bolts are only finger-tight.